

The shore might be pleasant, yet summertime is truly all about grilling . Despite how ordinary it may be, numerous individuals would hesitate to call themselves grill masters. Some believe they have mastered it, yet we could all use some practice. Even we occasionally doubt our own grilling skills. Will the steak stick? Will the chicken Burn it before it's fully cooked? foil or not to foil?
Having struggled with a "grilling complex" for many years, I understand your feelings. However, I'm here to assure you that if I managed to overcome this challenge, so can you. Adhere to my top grilling guidelines, and soon you'll be the one organizing the next backyard gathering. cook-out with confidence.
1. Get Your Grill's Grates Ready for Excellence
Before you start the grill, make sure it’s in good working order. Clean the grates, using a long wire brush (or non-wire brush! Scrape away any burnt pieces or residue with a tool, and subsequently apply some oil. Using a paper towel soaked in oil does an excellent job for this task. The aim is to thinly coat the grates without saturating them so much that excess oil drips down onto the flame when you ignite the grill, which could lead to flare-ups.
2. Heat Up the Grill—Then Give It Another Go To Warm Up
After cleaning and oiling the grates, heat up the grill for a minimum of 10 minutes; however, 15 minutes yields optimal results! Jessica Gavin As noted by certified culinary scientists and food scientists, this extended preheating period ensures that the grates become adequately hot, facilitating the formation of desirable sear marks on the food. Additionally, it aids in "sealing [the tiny] pores" on the grill grates, contributing to a more even cooking surface that reduces sticking. This process creates a sleeker surface ideal for effective grilling.
If you attempt to shorten this preheating period, your food will turn out grayish and have a steamed texture instead of being nicely seared—an unappetizing result. Additionally, it likely would stick terribly to the grill grates. Patience is key here; the wait is worthwhile for better outcomes.
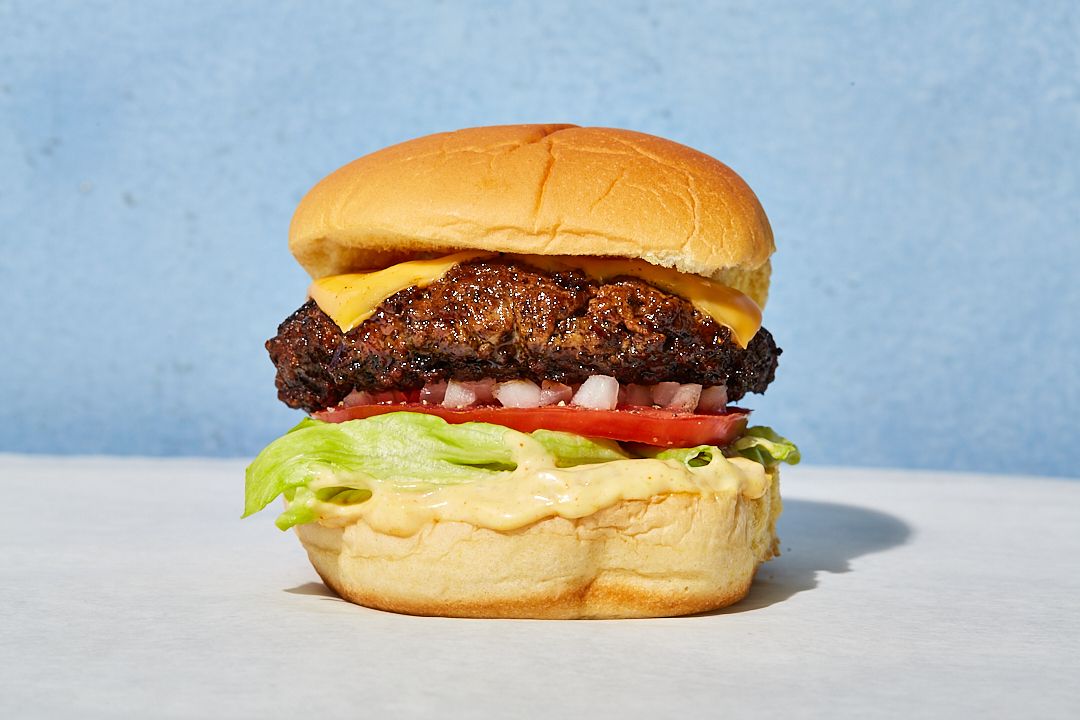
3. Create Your Zones
Certain dishes can be entirely prepared using high and quick temperatures. burgers , steaks , some veggies However, some foods profit from a gentler, longer cook to make sure they achieve the right internal temperature: this includes chicken, pork, or large pieces of beef. That’s why setting up areas for both direct and indirect heat is crucial.
Stay calm: This process is simpler than it seems. The main idea is to establish both high-heat and low-heat zones on your grill. For those using a gas grill, simply reduce the flame intensity under one section to form a cooler spot. In case of charcoal grilling, push the lit coals to one end so that the cooking surface above them becomes extremely hot, whereas the part without direct contact with these coals will serve as a "low-heat" zone.
Setting up dual zones isn't essential if you're just going to grill beef burgers and hot dogs. However, it's a handy technique to have available when you plan to barbecue chicken.

4. Season Your Food Early
We all know that salt is flavor. But did you know that when you properly season your food it can have a big impact on its texture as well? According to Gavin, salting meat 30 minutes in advance of grilling allows the salt to “penetrate the food,” increasing moisture retention and “resulting in juicier and more flavorful grilled dishes.”
Seasoning certain proteins such as fish ahead of time with salt isn’t advisable because it can lead to drying them out and breaking down their structure prematurely. Similarly, pre-salting might cause too much liquid to be extracted from a steak, leaving you with a damp exterior. As Gavin advises, ensure "the surface [of the meat] is dried using a paper towel" to eliminate extra moisture prior to grilling. Should your meat have any moisture upon hitting the grill, it risks steaming rather than achieving that desired sear—a scenario everyone aims to avoid during barbecues.
5. Let It Be
As soon as your food touches the grill grates, it’s crucial not to disturb it right away. Moving the food prematurely or excessively can interfere with proper searing and formation of those characteristic grill markings. Moreover, attempting to shift the items before these marks develop might cause sticking issues; this could result in torn meats and dirty grates adorned with remnants of cooked food. Not exactly what one would call ideal outcomes.
If you're worried that your food may be turning into charcoal, use tongs to lift only one edge for inspection. Should the underside have nice grill marks, flipping should be safe. However, if these markings appear light and the food sticks to the grate, leave it alone for a bit longer.
6. Maintain the Closure
If you're not moving the food around on the grill, leave the lid closed. This helps retain the smoky flavor when using charcoal, enabling it to penetrate the food more effectively.
By keeping the lid shut, "it traps the heat both above and below the food, guaranteeing uniform cooking," she explains. Each time the lid is opened, "a considerable amount of heat escapes, potentially extending the cooking duration considerably." Similar to how an oven functions—if you frequently open and close its door—it cools down, affecting your meal negatively.
7. Wait to Glaze
A sugary yet zesty coating on a portion of grilled chicken or cauliflower It’s challenging to surpass, yet once your meal lands on the grill, refrain from applying glaze immediately despite the urge. Most glazes and BBQ sauces have substantial amounts of sugar, causing them to turn into ash rapidly under intense temperatures.
To achieve optimal outcomes, begin applying your glaze when the dish is nearly done cooking on the grill. Typically, this means starting approximately two minutes prior to removing it from the heat source. Doing so allows sufficient time for the glaze to blend well with the meal and develop a slight caramelization without risking burning.
Would you like to share any grilling tips? Please let us know in the comments section below.
Post a Comment